
So you have decided to get a reptile. Maybe you have been researching for weeks. Maybe a friend showed you their bearded dragon and you were immediately hooked. Either way, you are now at the point where you need to set up a proper enclosure before your animal comes home — and if you are doing this for the first time, the number of products, specifications, and opinions online can feel genuinely overwhelming.
This guide cuts through the noise. We will walk you through exactly what you need, in the right order, to set up a safe and functional reptile enclosure from scratch — specifically for keepers in South Africa.
Step 1 — Choose Your Species First, Then Your Enclosure
This sounds obvious but it is the step most beginners get backwards. Do not buy an enclosure and then pick a reptile to fill it. Different species have completely different space, temperature, humidity, and lighting requirements. The enclosure you need is determined entirely by the animal you are keeping.
For South African beginners, the most commonly recommended starter species are leopard geckos, bearded dragons, corn snakes, and blue-tongued skinks. All four are relatively hardy, well-understood, and forgiving of minor husbandry mistakes while you are still learning.
Once you have chosen your species, research its adult size, temperature requirements, humidity needs, and lighting requirements before purchasing anything.
Step 2 — Select the Right Enclosure Size and Type
A common beginner mistake is starting with an enclosure that is too small with plans to upgrade later. Upgrades cost money twice. Start with an appropriately sized enclosure for your animal’s adult dimensions from the beginning.
For most beginner terrestrial species, a PVC terrestrial enclosure provides the best combination of heat retention, practicality, and animal welfare. For arboreal species, a tall PVC arboreal enclosure with good ventilation is essential.
As a general starting guide for common species: a bearded dragon needs a minimum of 120cm x 60cm floor space as an adult. A leopard gecko does well in a 60cm x 45cm footprint. A corn snake needs at least 90cm x 45cm. A blue-tongued skink requires a minimum of 120cm x 60cm.
Step 3 — Set Up Your Heating
Every reptile enclosure needs a temperature gradient — a warm end and a cool end — so your animal can move between them to thermoregulate naturally. This is not optional. A single uniform temperature throughout the enclosure does not allow for natural thermoregulation.
Set up your primary heat source at one end of the enclosure only. For basking species, use a basking bulb or halogen lamp. For non-basking species, a ceramic heat emitter or heat mat works well. Connect your heating element to an appropriate thermostat and set your target temperatures according to your species’ requirements.
Always verify temperatures with a separate digital thermometer — never rely on the thermostat reading alone.
Step 4 — Install UVB Lighting
For diurnal species, a T5 UVB tube is essential. Position it so that the basking area falls within the effective UVB zone of the lamp. Run your UVB light on a timer for 10–12 hours per day to simulate a natural photoperiod.
For nocturnal species, UVB is less critical but still beneficial at low levels.
Step 5 — Add Substrate
Choose a substrate appropriate for your species. Leopard geckos do well on slate tiles or paper towel as beginners. Bearded dragons can use a loose sand-soil mix once adult. Corn snakes thrive on aspen shavings or cypress mulch. Blue-tongued skinks need a deeper substrate they can burrow into.
Avoid cedar and pine shavings for all reptiles — the aromatic oils are toxic.
Step 6 — Furnish the Enclosure
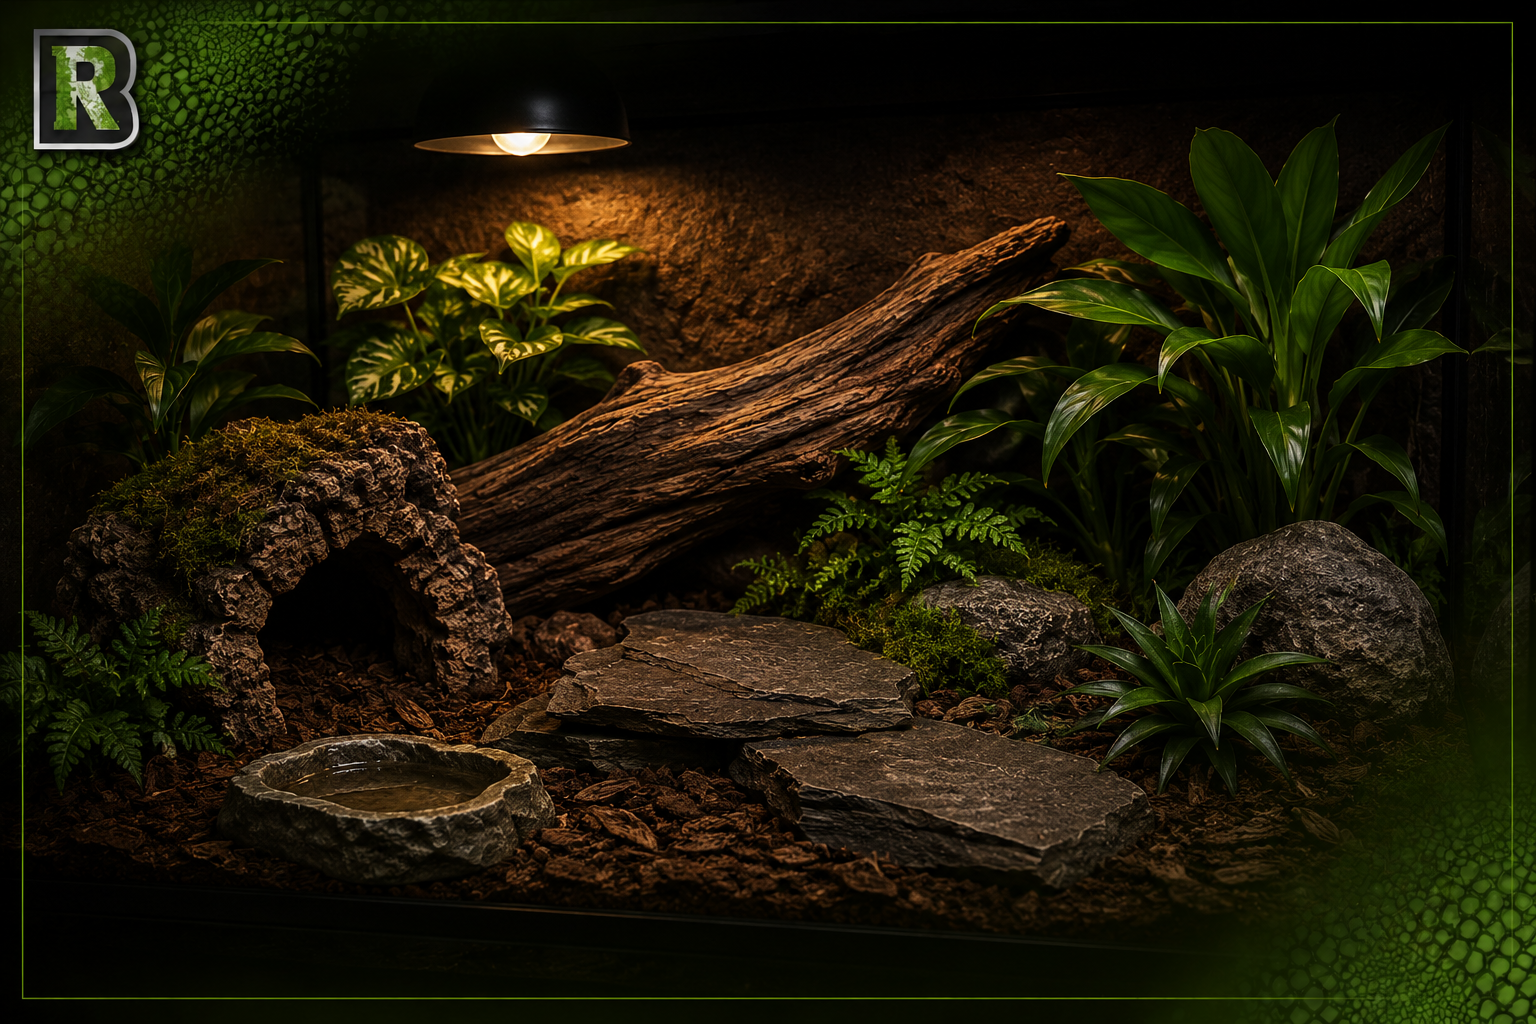
Every reptile needs at least one hide on both the warm end and the cool end. This is non-negotiable — hides reduce stress and allow your animal to feel secure. Add appropriate decor for your species — rocks, branches, and cork bark for climbing species; flat stones and open floor space for ground-dwellers.
Step 7 — Monitor Before Your Animal Arrives
Set up your entire enclosure, switch on all equipment, and let it run for at least 48–72 hours before your reptile comes home. Monitor temperatures at the warm end, cool end, and basking spot. Monitor humidity. Make any adjustments needed.
Bringing an animal into an untested setup is one of the most common and most avoidable beginner mistakes.
Final Thoughts
Setting up a reptile enclosure correctly the first time saves you money, saves you stress, and most importantly protects your animal from preventable health problems. Take your time, research your species thoroughly, and invest in quality equipment that will last.
Reptile Basics stocks everything you need for a complete first enclosure setup — from PVC enclosures and thermostats to UVB lighting and monitoring equipment. Browse our full range and set your reptile up for a healthy, thriving life from day one.